Thursday, November 24, 2016

Bees & Honey

My anniversary is on Sunday, so I made this card to give to my husband.


The card base was created using the "Spring Fling" Cricut cartridge.  The darker yellow mat, behind the hexagonal cut-outs is covered in mustard seed Distress Glitter.  I created the black border by cutting a rectangle at 5 1/2"x4 1/4," and then used the Card Mat Dies from Jaded Blossom to cut out the middle, leaving a small border.

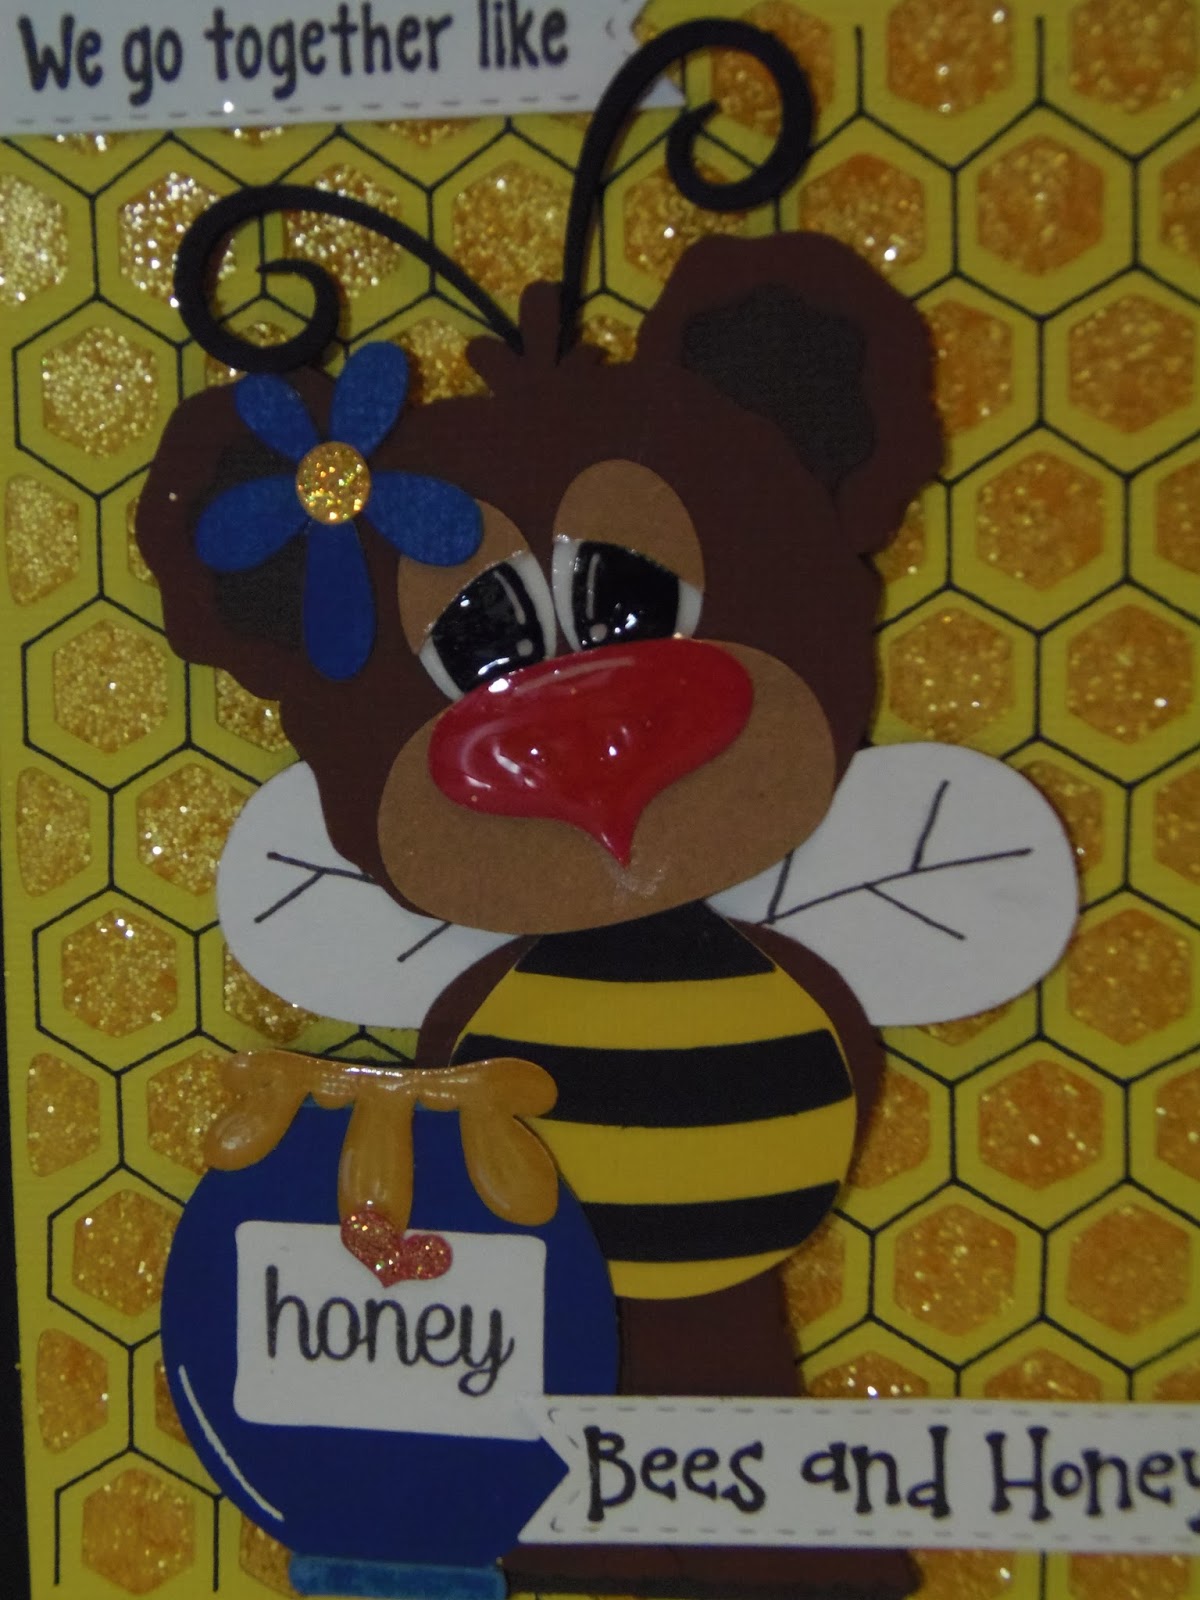

The adorable bee bear is from KaDoodle Bug Designs.  It is part of the Busy Bee Bears cut set.  I added glossy accents to the eyes, nose, and honey.  The heart has fruit punch Stickles on it and the center of the flower has yellow Stickles on it.  I also doodled veins on the wings.


The sentiments are stamped on banners from the Mini Tag Dies 2 set.  The sentiments are from the We Go Together Like 2 stamp set.  The word "honey" on the pot was stamped using part of a sentiment from the Honey Bunny stamp set.  All stamps were from Jaded Blossom.


I used a lot of dies from Jaded Blossom to create the inside of the card.  The black mats and white mat are all from the Card Mat Dies.  I used two different sizes of the Stitched Circle Dies to create my bee.  The wings were created by cutting one of the circles in half.  I used the Snowman Dies for the eyes, then used a black marker to put in the pupils.  I created the stripes by just cutting small strips of yellow and trimming them to fit the circle.  The sentiment is from the You Go Together Like (add on) stamp set.

Tuesday, November 22, 2016

Peaceful Winter Woods

This card features a lovely winter scene.


The card is 5 1/2"x4 1/4" and made of white card stock.  I covered a piece of watercolor paper with three shades of Distress Ink: tumbled glass, salty ocean, and chipped sapphire.  I then splattered some water over the top of the inks.  I was hoping it made it seem like it was snowing, kind of how you might see it at a distance.


The trees are from the Scenic Dies from Jaded Blossom.  I cut them twice from white card stock, then trimmed them to fit the panel.


The sentiment and the banner are both from My Craft Spot.  I covered the banner with Wink of Stella for some shimmer.


The deer is from the Holiday Designer Tapes stamp set, also by Jaded Blossom.  I heat embossed it with black embossing powder.

Monday, November 21, 2016

Birthday Kitty

Today I decided to make a fun shaped card.


I used the present shape from the Cricut cartridge "Something to Celebrate" and turned it into a cool shaped card.  I added a little white gel pen doodling on the bow.


The sentiment is from Jaded Blossom.  The banner is from Dimensional Banner Dies and the sentiment is from So Many Birthdays.


The adorable little kitty is from the Kitty Dress Up stamp set, also by Jaded Blossom.  I used the Brother Scan 'n' Cut 2 to cut out the stamp and give it a white edge, like the present.  I did a little bit of paper-piecing of the white fur on the chest and tail; I also added some Wink of Stella to the fur for shimmer.  The eyes are covered in glossy accents.  I used fruit punch Stickles to glitter up the polka dots on the party hat.  I also used a shimmery pink gel pen on the nose.


I made this for the current challenge at Seize the Birthday, which is to use presents.

Thursday, November 10, 2016

Fancy Fall Hat

We have been having sort of "dress-up" days at work.  Things like "crazy sock day" or "pro football jersey day" and that sort of thing.  Well, Monday is "fancy fall hat" day, so I made a fancy fall hat.


I used the "It's Fall In the Details" digital Cricut cartridge to cut this hat out.  Once assembled it is just over 5" tall.  I adhered it to a headband, since it is a little small to stay on my head without help.  You could also use elastic, or if you really wanted something you could wear then just make it bigger!


I used a lot of glitter on this.  I combined orange and copper glitter for the orange parts at the top of the sides of the hat.  I used a dark red for the brim and very top of the hat.  I used a Distress Glitter for the yellow in the hat band.


 I used yellow glitter on the buckle and then covered it in glossy accents.

Wednesday, November 09, 2016

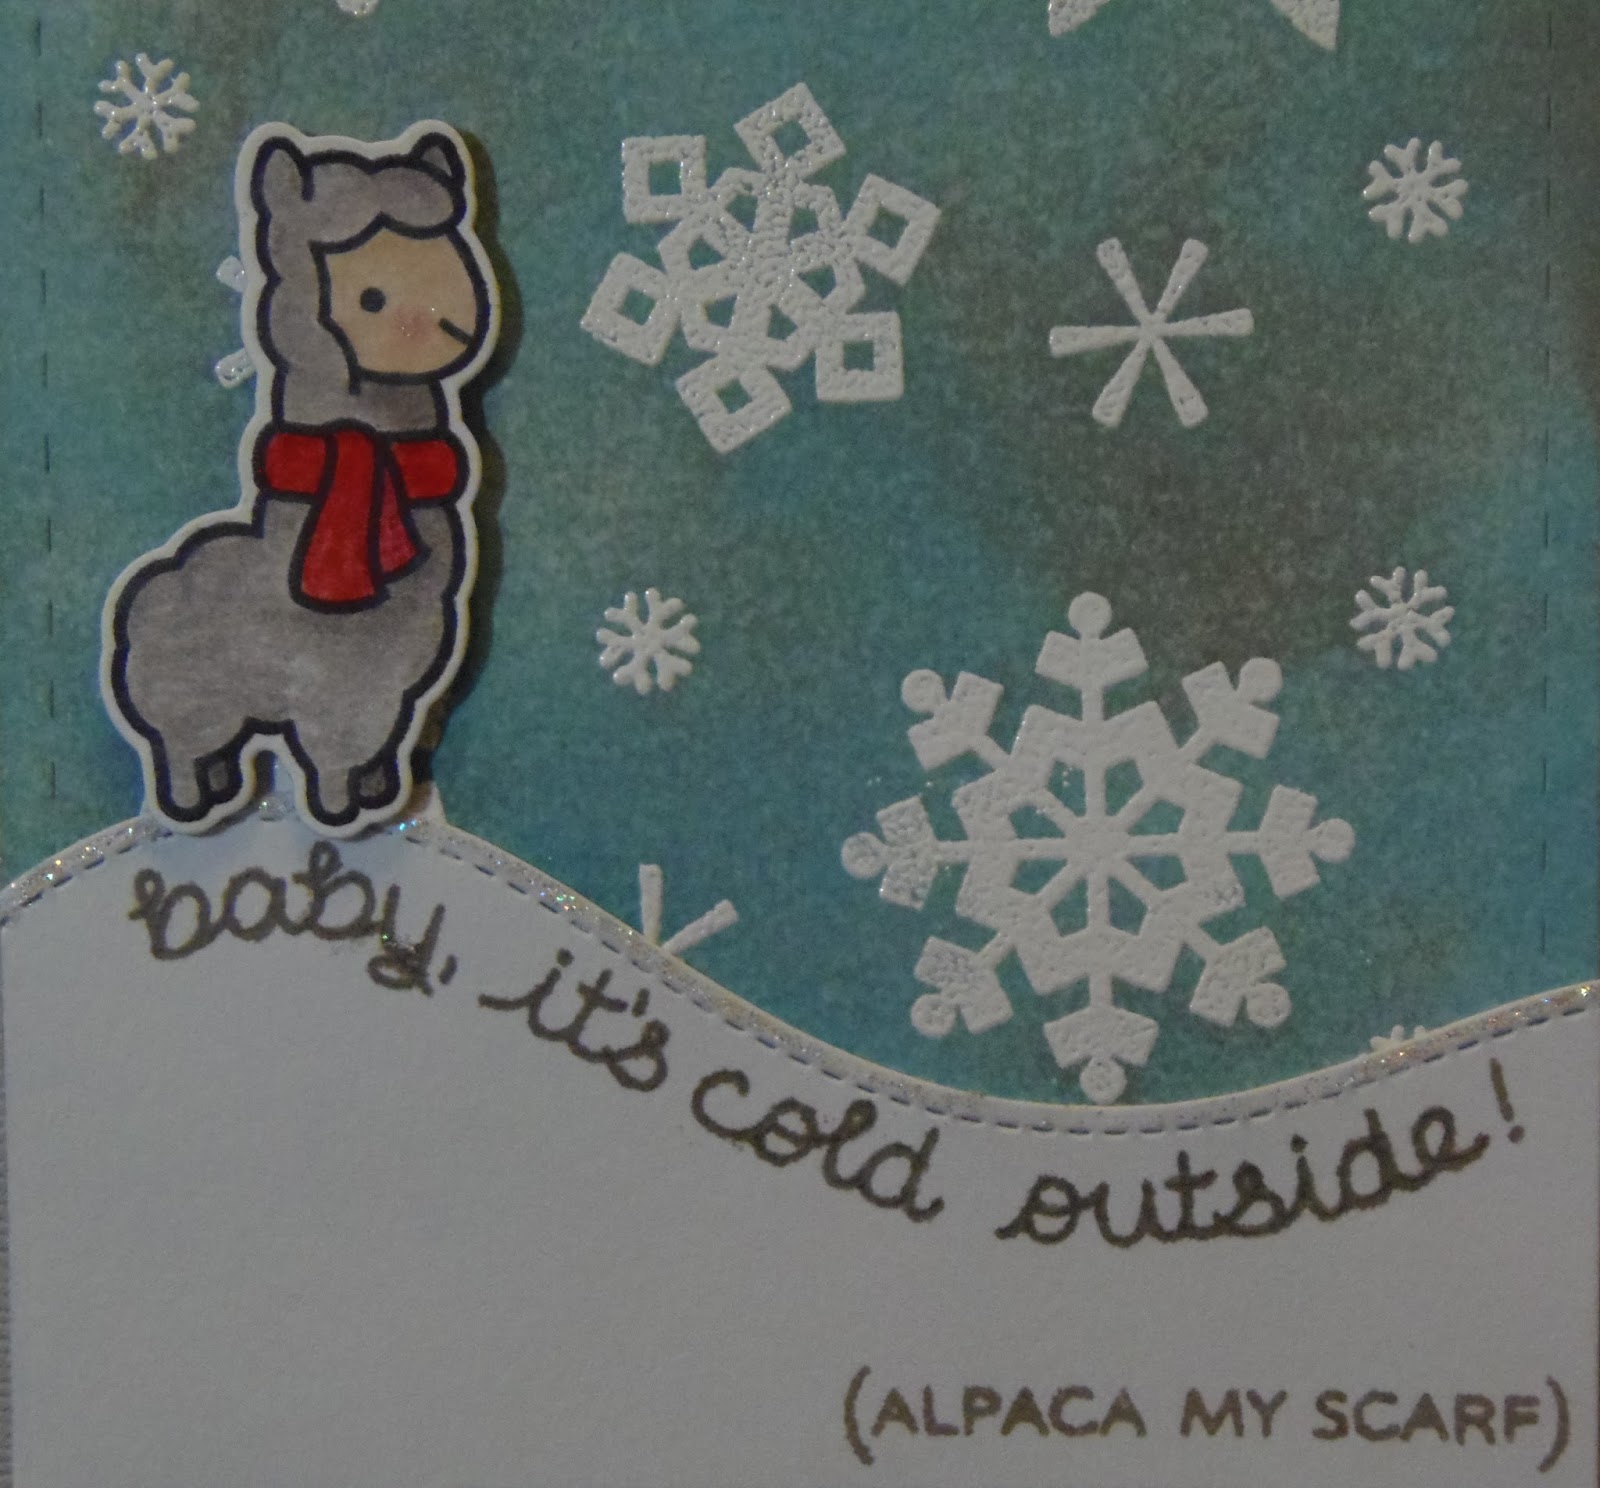
Alpaca My Scarf

I love the Winter Alpaca stamp set from Lawn Fawn and just had to use it in the current Lawnscaping Challenge, which is clean and simple.


The card is 5 1/2"x4 1/4" and made of light grey card stock.  I used the Card Mat Dies from Jaded Blossom to cut a piece of white card stock for a mat.  I used stamps from the Fresh Snow stamp set by Paper Smooches for most of the snowflakes on my mat.  The smallest snowflake is from the Winter Alpaca stamp set.  I stamped them all with embossing ink, then heat embossed them with white embossing powder.  After the snowflakes were heat embossed I then used pumice stone and tumbled glass Distress Ink to cover the mat and make a snowy, wintry sky.


The snowy hillside was cut using one of the Stitched Hillside Borders from Lawn Fawn.  I used star dust Stickles on the edge of the hill for shimmer.  


I colored the alpaca with Prismacolor colored pencils and I adhered it with foam tape for dimension.  I also added a touch of Wink of Stella to the alpaca's cheek for shimmer.


The sentiment is from the same Winter Alpaca stamp set.  I curved it to follow the hillside.  It is stamped in pumice stone Distress Ink.

Sunday, November 06, 2016

Christmas Window


The card is 5 1/2"x4 1/4" and made of purple card stock.  I used Cricut Design Space to slice the images of a rectangle (5 1/4"x4") and the window to create a negative space in the shape of the window, then cut that using turquoise card stock. I embossed that piece with the Ornamental Iron Cuttlebug embossing folder.


The tree is a rubber stamp that I had in my stash.  I stamped it with embossing ink, then covered it with gold embossing powder.  I cut it out using the Brother Scan 'n' Cut 2.  I then added some purple Stickles to the branches of the tree.  The hillside was cut using the Stitched Hillside Borders die by Lawn Fawn.  I then covered it in Wink of Stella for a little shimmer.


I cut a blacked out shadow of the window in white, the embossed it with the Snowflake Swirl embossing folder by Darice.  I used a piece of acetate to make the window look more realistic.  The turquoise shadow, white window pane, and the acetate are adhered to the turquoise background, then adhered to the card with foam tape for dimension.  I added a touch of turquoise glitter around the edges of the window for sparkle.


The sentiment and the banner are both from My Craft Spot.  The sentiment was stamped with embossing ink and heat embossed with gold embossing powder.  I adhered the middle of the banner with two layers of foam tape and adhered the ends with glue dots.


I cut a turquoise mat at 5 1/4"x4" and a white mat at 5 1/8"x3 7/8."  I stamped the swirls in embossing ink and heat embossed them with gold embossing powder.  The sentiment was stamped in grape jelly ink by Tsukineko.  Both the swirls and the sentiment were from My Craft Spot.

I made this card for the current challenge at Daring Cardmakers.  It is to use three elements from the photo on your card.
I was inspired by the turquoise and purple color palette, the gold accents, and the window.

Turkey Time

I thought I needed a little more autumn decor, since I basically only have the owl lantern and the 3D pumpkin I made a few weeks ago.  So, I made a 3D turkey.


The turkey comes from the Cricut cartridge "Home for the Holidays - Fall & Winter."  I used card stock from the Harvest House stack by DCWV.


I added brown glitter, mustard seed Distress Stickles, and orange enamel dots to the feathers.


I used platinum pearl Liquid Pearls for the centers of the eyes.


I also added some enamel dots to the back of the feathers.

Saturday, November 05, 2016

Monster Bash

I created a cute little monster-themed birthday card!


The card is 5 1/2"x4 1/4" and made of white card stock.  I used the Card Mat Dies to cut the orange polka dot card stock, then I used the Border Dies 2 to cut the mat to make it look like a balloon.  Both dies are from Jaded Blossom.  I then used a light blue baker's twine for the string of the balloon.


The adorable little monster is from Lettering Delights.  He is part of the Mini Monster cut set.  I used the Dot Fade stencil by Tim Holtz to give my little monster some texture to his body.  I used old paper Distress Ink for the coloring.  I used a Peachy Keen face stamp for his face instead of the cut pieces.  It is part of the Quick and Simple Emojis Face Assortment.  I added him to the card, then curled his fingers around the twine to make him look like he is holding the balloon.


The sentiment is from Paper Smooches.  It is part of the Happy Birthday stamp set.

I made this for the following challenges:
Color Throwdown: color combo
Addicted to CAS: monster

Tuesday, November 01, 2016

Log Cabin Card

My sister-in-law's birthday is coming up and my husband asked me to make her a card.  I said I would, but he had to decide what he wanted for a theme for it.  He said it should have a log cabin and a dog sitting on the porch.  I decided to make it into a log cabin shaped card.


The card base is made from a cut file from KaDoodle Bug Designs.  It is part of the Woodsy Winter set.  I pieced the base together, then cut off the part that looked like snow since I didn't want to make this winter-themed.  I did a lot of inking on this card.  I used tea dye Distress Ink on the logs, ground espresso Distress Ink on the dark brown planks of the door and porch, iced spruce Distress Ink on the trees, and weathered wood Distress Ink on the chimney stones.  I added some crackle accents to the chimney and glossy accents to the windows.  I also used foam tape on the bottoms of each layer of trees for dimension.  I used a metallic brown brad for the door handle and finished off the base of the card with some doodling on the logs to make them look a little more realistic.


The dog is from SVG Cutting Files.  It is part of the Silly Dogs cut set.  I used wild honey Distress Ink on its ears and tail and mustard seed Distress Ink on the rest of the body.  I adhered it with foam tape by the door to make it seem like it was waiting to come inside.  I also put a little bone on the stoop with the dog.  The bone is from the Cricut cartridge Home Organization.  I tied a red twine bow around the bone to make it into a little present.


I used Jaded Blossom products for the inside of the card.  The mat is made from the Scallop Rectangle Dies 1 and Rectangle Dies 1.  I used a paw print stamp from Kitty Kitty and a sentiment from Dog-gone Awesome.

Thursday, October 27, 2016

Autumn Owl


I love making 3D and home decor items, but I just don't do it all that often.  I am going to try and change that.  I started last week by making the pumpkin.  This week I made an autumn owl-shaped lantern, which I am going to put on display with my pumpkin.


I used a cut file from Dreaming Tree.  It is called Hoot Owl Lantern.  It stands at just under 11 1/2" tall.  I used a tea light to light it up, but I think I will get a slightly larger candle for the future (I just didn't have any larger ones that were electric).


I put vellum behind the open grid-work on the body of the owl to soften the light.  I also did it because my card stock had a white back and I didn't want that to be seen.  I also chose to use a solid card stock for the eyes, rather than vellum.  If you were to use a vellum the light would show through the eyes as well.  


I added pop-dots to the undersides of the wings and then curled them for dimension.  I added a lot of gems and sparkly enamel dots as well.  I also used some Liquid Pearls for more detail.