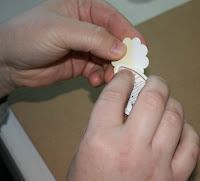

I used the 2x2 Flower dies from Provo Craft and used my Cuttlebug to cut them out of white cardstock.

I used Tsukineko Dew Drop Chalk Ink, in the colors Thatched Straw and Mango Maddness.

I started off with inking the flower layers with the Thatched Straw ink. I inked straight on to the paper with the ink pad. I also did not worry about even coverage because I wanted a more natural look and to give it some texture and character.

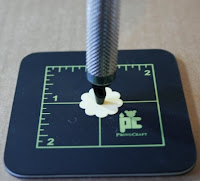
I used my eyelet setter to punch a hole in the middle of each flower layer.

Then I finished inking with the Mango Maddness. With this one I only inked the edges of each flower layer.

I used a 5/16" brown brad for the flower's center. I put each piece on the brad from smallest to largest.

Now that all the layers are on the brad, just fold back the arms of the brad and you are almost there. I only have one more step left.

I then fold up the petals on each layer of the flower. This just gives it even more texture and that natural feeling.

Here is the completed flower. I loved making this and I think I will wind up using this more and more in other projects. It is so versitile because you can choose your color, both from inks and cardstock. You could also emboss the flower for added texture. Hope you could follow along and I hope you will try this out for yourself. Enjoy!
No comments:
Post a Comment