 This is a two pag
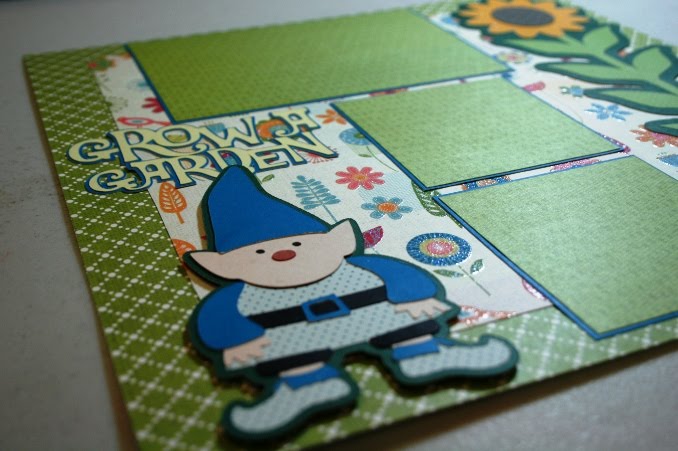
 e 8"x8" layout. The background paper is from the Sweet Stack by DCWV. I wrapped one of the pages with a pink ribbon, then tied a bow and adhered it to the ribbon. I topped off the bow with a button from my stash. The title, "cute as a button" is from Kate's ABCs and cut at 2." I used another button from my stash for the center of the flower. I cut mats for two photos. The one on the left hand page is for a 3 1/2"x5" photo and the one on the right is for a 4"x6" photo. I cut both layers 1/8" larger than the previous layer and then wrapped them with some ribbon. The lamb and the bear are from the Sugar and Spice Lite cartridge. I cut the lamb at 2" and flocked it with some pink flocking and used some black pearls for eyes. The bear is cut at 3." I used a Peachy Keen stamp for her face and used some tropical tangerine Stickles on her bow. The pink outfit and safety pins are both from New Arrival. The outfit is cut at 3 1/2." I used a button for the center of the flower on it as well. The
 safety pins are cut at 2." I added some tropical tangerine Stickles to the heart on one of the safety pins and used glossy accents on the two pink ones. I used pop-dots to adhere all the images to the layout, except the saftey pins.
 I made this layout for the following challenges:
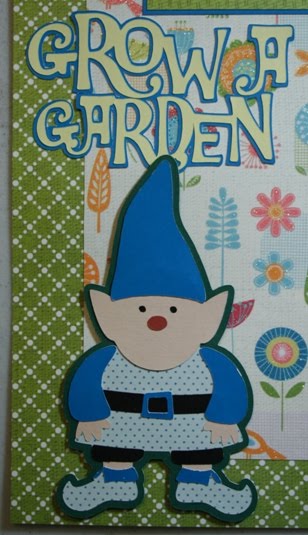
- My Creative Time: make a layout, use any Lite cartridge
- Paper Cutz: buttons & bows
- Paper Sundaes: childhood memories
- Scrappy Moms Stamps: New Arrival
- ABC Challenge: S is for Sugar & Spice
- Sentimental Sundays: treasured memories


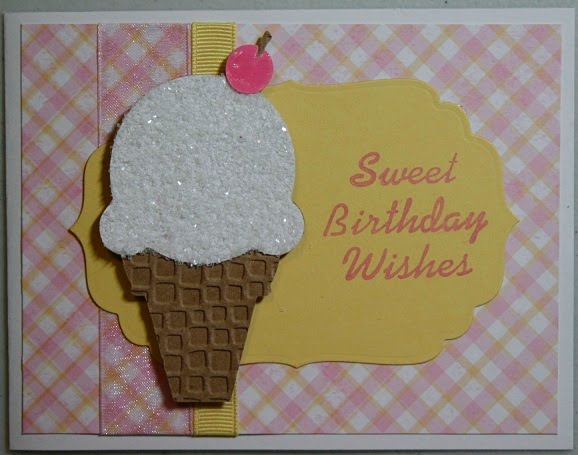
 I made this card using the "Super Sketchy Sunday" sketch from


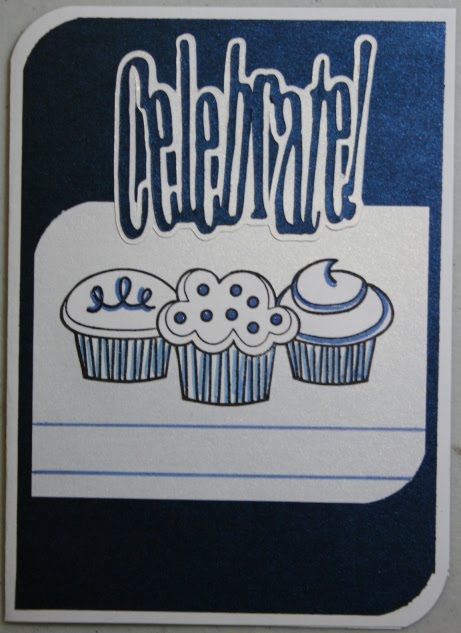


 So that is how I flaunted the sheep from Country Life. Head on over to
 My other card for today is 4 1/2"x6 1/4" and made from kraft cardstock. I cut a piece of light blue cardstock 1/4" smaller than the card base and embossed it with the Cherry Blossoms folder. I cut another piece of kraft cardstock at 4 5/8"x3 3/8" and some orange cardstock at 4 3/8"x3 1/8." I layered them together to be the mat for my image. I stamped it on white cardsock and colored it with my Prismacolor pencils. I then trimmed it to 4 1/4"x3" and adhered it to the mats I created. I adhered that all down to the card base. I then wrapped it with some light blue ribbon and some orange ribbon. I then stamped my sentiement in pearlescent sky blue ink by Tsukineko onto some kraft cardstock. I cut it at 1 1/4"x5/8" and cut a mat for it from some orange cardstock, which is cut 1/8" larger. I used some pop-dots to adhere that in the middle of the ribbon.
  I made this card for the following challenges:

 I made this card for the following challenges:


